时间:2018-03-29 17:41:14 作者:lizhu 来源:系统之家 1. 扫描二维码随时看资讯 2. 请使用手机浏览器访问: https://m.xitongzhijia.net/xtjc/20180329/123381.html 手机查看 评论 反馈
相信有很多人都知道Microsoft Office Document Imaging组件对于Office 2003或者Office 2007来说非常重要,但是这个组件系统一般是没有安装的,需要我们自己安装。那么,WinXP系统怎么添加Microsoft Office Document Image Writer呢?接下来,我们一起往下看看。
工具/原料
Office 2003
Office 2007
方法步骤
一、先看Office 2003
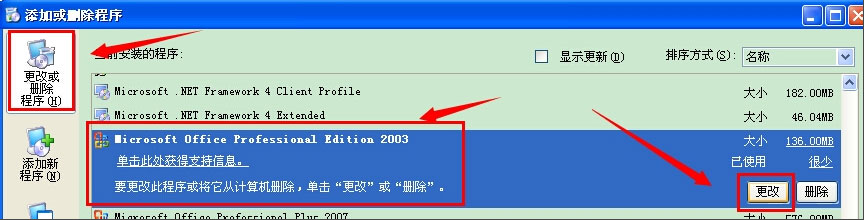
1、打开控件面板,点击“添加和删除程序”;

2、在“更改和删除程序”中找到“Microsoft Office Professional Edition 2003”,点击“更改”;
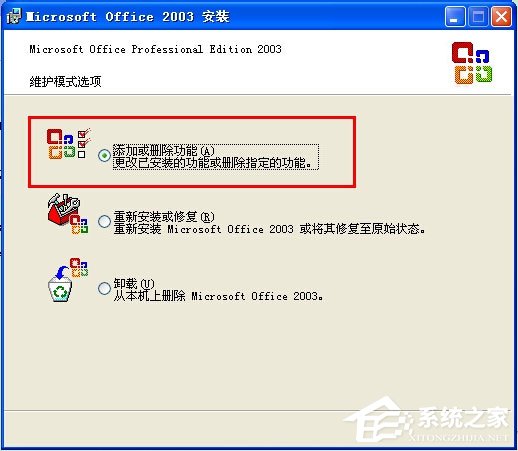
3、选择“添加和删除功能”这个选项;
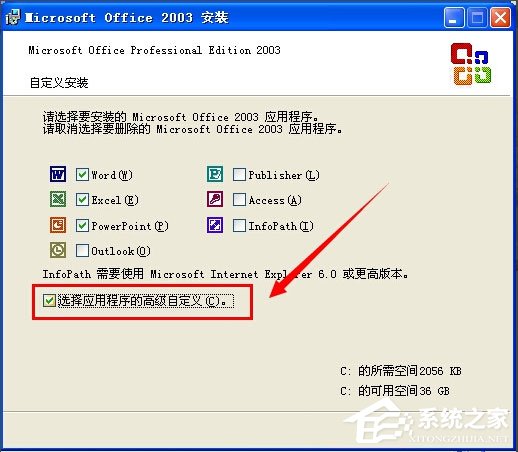
4、再选择这个“高级自定义”;
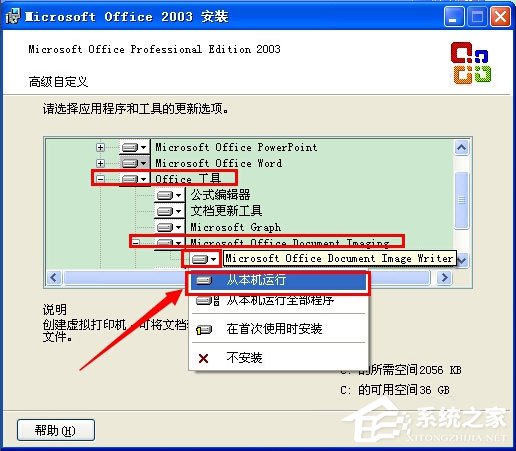
5、再看到窗口里的Office工具,选择Microsoft Office Document Imaging,打开后看到那个倒三角,点击后选择“从本机运行”,没安装的是X,安装了的就没反应,点击更新即可。
二、再看看Office 2007
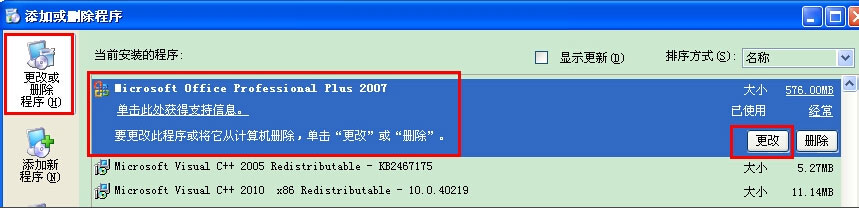
1、同样刚才的步骤进入到添加和删除程序里,找到“Microsoft Office Professional Plus 2007”,点击更改;
2、选择“添加和删除功能”,点击继续;

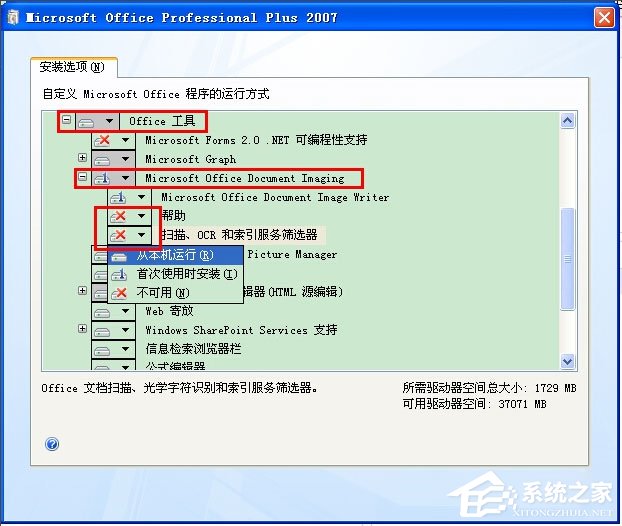
3、再看到窗口里的Office工具,选择Microsoft Office Document Imaging,把里面打红X的点击一下选择“从本机运行”,之后就没红X了,再点击继续;
4、会自动配置;
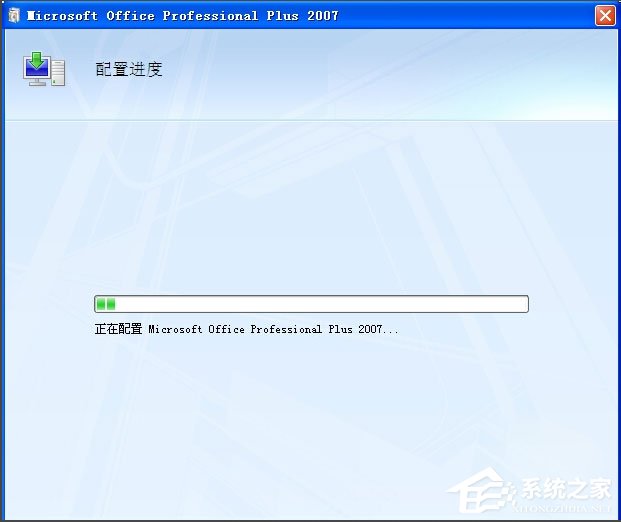
5、完成后需要重启电脑。

以上就是WinXP系统添加Microsoft Office Document Image Writer的具体方法,通过以上方法进行操作,就能顺利添加好Microsoft Office Document Image Writer。


发表评论
共0条
评论就这些咯,让大家也知道你的独特见解
立即评论以上留言仅代表用户个人观点,不代表系统之家立场